Now, here's what you need for this mini-project:

Unused return envelopes; acrylic paint - any kind, cheap stuff from Michael's or JoAnn's is fine; an old credit card or gift card; rubber stamps, a stamp pad (I use black because it shows up better through the layers of paint). Oops! not shown: some bubble wrap, a brayer and/or a piece of sponge. These are optional. You DON'T need a bowl of walnuts or a nutcracker. Unless you get hungry.
Step 1:

Next, use that old credit card/gift card to scrape the paint over the front of the envelope.

They are THE BEST paint applicators I know of. Plus, when you reuse them you're keeping stuff out of the landfill. You don't have to use two colors at the same time; you could apply one,


Be sure to do the fronts and backs.


Now eat a couple of those walnuts while you're waiting for your envelopes to dry...
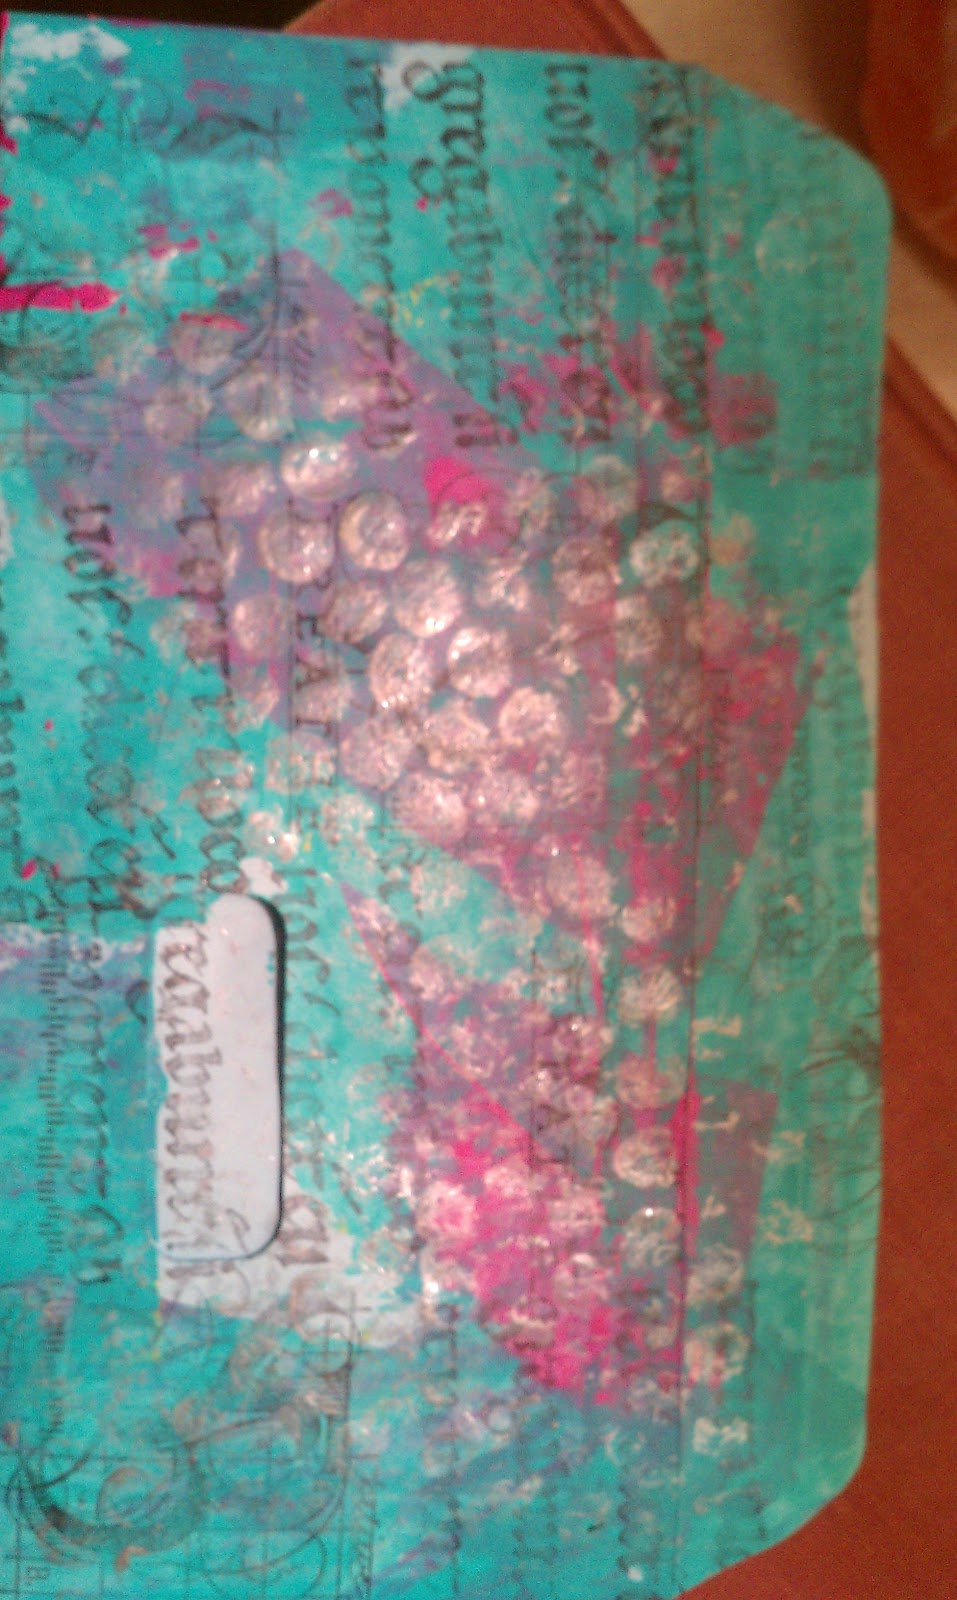
After they're dry, stamp random patterns all over the front and back of your envelopes.


Your envelopes are beautiful and could be used right now. All you need to do is add a label for the address and it's good to go. BUT if you want to add a little extra pizazz, here's the optional step:
Using a contrasting color (I like metallics, but I'm just that kind of bear), brayer a little paint onto the bumpy side of the bubble wrap.


Or, if you'd rather use a sponge, tap it into the paint and gently tap over your envelope however you please.


And there you are. Welcome to mail art!. Now, clean up your workspace and go write some letters...

This post has been linked to Homemade Mondays. Frugal Days, Sustainable Ways
1 comment:
I, too, recycle those "free" envelopes, but never the fake membership cards. I have to say that mine look pretty pathetic. I just scatch off the old stuff, find an empty spot and write in the address. Not nearly as nice as yours. Fun to see how you do it.
Post a Comment