 |
| Spooky Silhouette Halloween card |
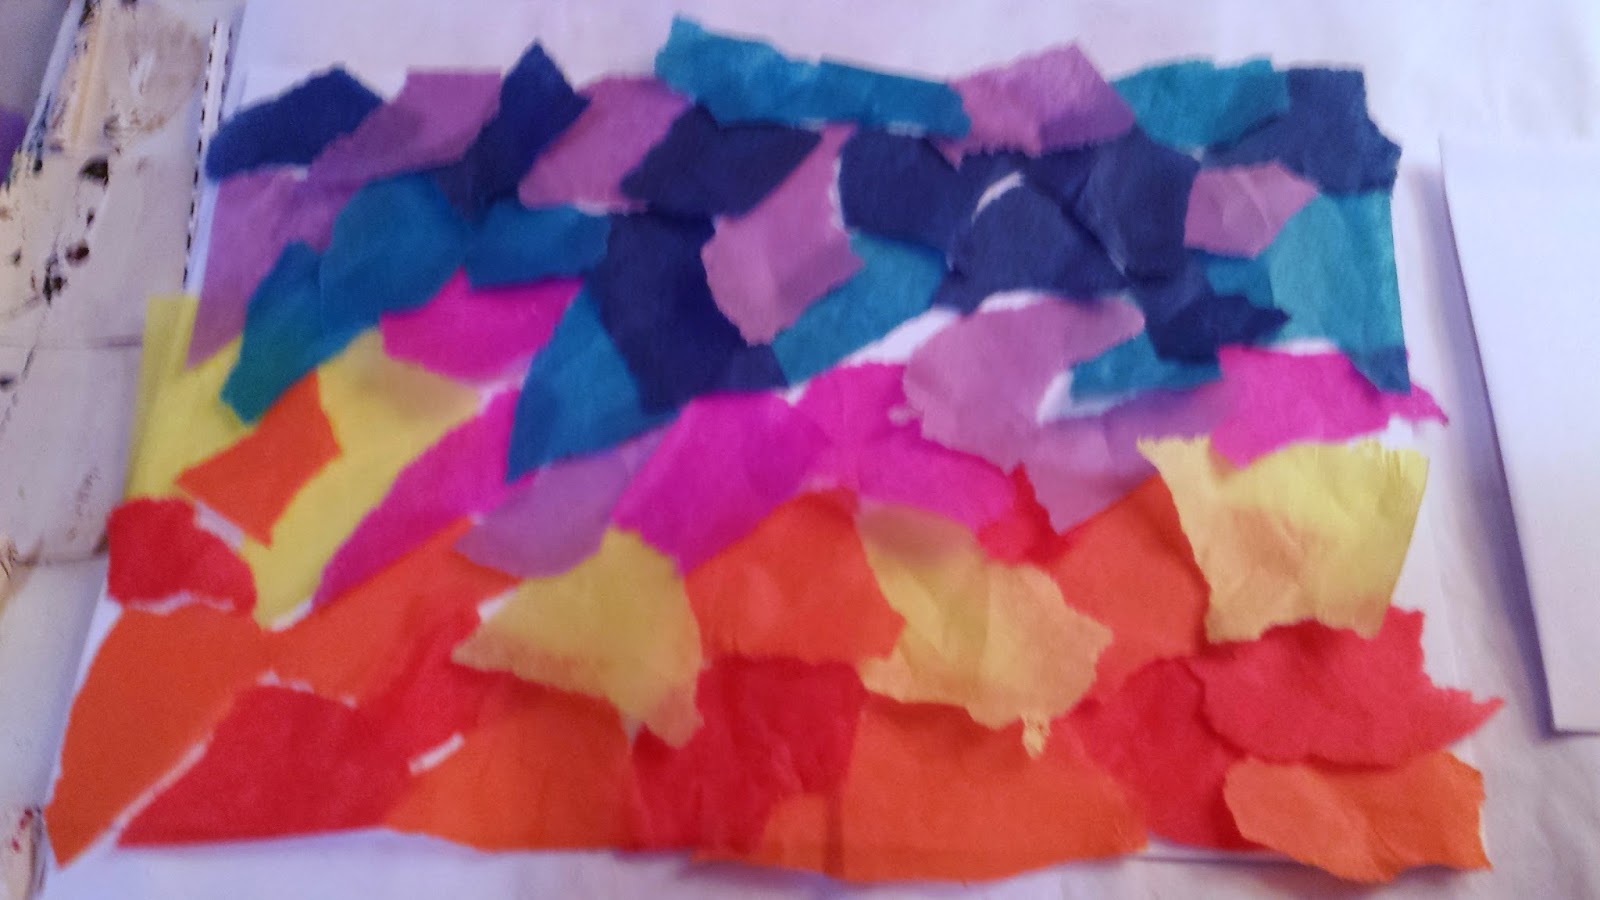
First off, you need tissue paper. Make sure it's the kind used for art - it will say "bleeding" on the package. No, it's not a British expletive, it means that when the paper gets wet, the dye will run. This is important. If the paper doesn't bleed, the technique won't work.
 |
| Bleeding tissue paper (not bloody, although for this time of year that could be nice and gruesome...) |
 |
| The messy art table is optional. |
Once you've got the tissue paper, all you need is card stock (thicker paper is better for this project), an envelope to fit your card, a spray bottle with water in it and black Sharpie markers with different sized tips. I used a chisel tip, fine point and extra fine point.
 |
| You don't have to sort your colors; I'm just that kind of bear. |
 |
| See why you don't want the fan blowing? |
 |
| After I gathered up all the pieces from my water blast... |
 |
| You can see how the ink is beginning to feather out from the water |
When the paper is dry, it should easily slide off your card, leaving you with this:
 | |
| Oooooh...aaaahhhh...pretty! |
 |
| I did the bottom half of the other side, too. I just didn't take a picture of it. |
I did the envelope, too while you were drinking your wine:
Break's over! Back to the tutorial:
 |
| My sketch, done at 4:30 this morning |
You need to figure out what kind of silhouette you want on your card. I suggest playing around with some sketches. Remember that silhouettes are black and the interest comes from the outside edges. Leaving spaces between objects will let the background colors shine through and provide visual contrast.
 |
| Let your pencil whisper over the paper! |
Once you've got your ideas sketched out, transfer them, in pencil lightly to your card. I used to tell my students that you want to keep your picture a secret from everyone but yourself.
Take your Sharpie in hand and begin to fill in your silhouettes:


 | ||
| The bleeding Sharpie! |

Now that you've got your spooky silhouette all finished, there's one more thing you need to do, and that is erase ALL your pencil marks. The best eraser for the job is a white eraser because it's soft and doesn't leave ugly smudges on your paper. Sanford is the brand I have, but I'm sure there are other companies that make them.
 |
| You can see the eraser here. I think it's called a "Magic White" or something like that. |
So here's what you can do to mask all the "stuff" on the inside of your card. Cut two pieces of paper, slightly smaller than the face of the card and stick them to the inside of your card. I used glue dots because they were sitting on my messy art table. Double sided tape would work, also. And probably glue stick. Wet glue like Elmer's isn't my favorite because it makes the paper squinchy (= wrinkly).

You're probably wondering, "Why doesn't she use one paper and fold it in half, then glue it in?" Well, I'll tell you. I once spent 47 minutes one day trying that very thing on another card and I couldn't for the life of me get the damned thing to go in so that: a) the card closed/opened flat and/or b) the inside paper didn't buckle. Incredibly frustrating. So I don't mess with that shit anymore. If you've figured out how to do it and can explain it to me, I'd love to know.
Do you love this card, but don't have it in you right now to make one? You can buy a printed version of this very card, plus a hand-decorated envelope right here.
Do you want to try this project on a grand scale, with kids? (I salute you for your bravery!) Check out Mrs. Picasso's Art Room.
She's got some great ideas.

Hey! Remember these?
You didn't throw them away, did you? Be sure to save them because in my next tutorial I'm going to show you something fun to do with them. It's a recycling/upcycling kind of thing.
(Shared on Homemade Mondays)
4 comments:
Amazing. I wish my son could have stayed in your school for art class. You are the best art teacher! at least he got 2 years with you.
You have no idea how much that means to me. Thank you - you made my day!
Very cool! I found you via Sarah @ Frugal By Choice: Homemade Mondays. I may try this with my 8 year old here at home to send to his grandma [ my mom ;) ] Thank you for sharing. Our kids don't have art class here in Georgia, bummer!
Christina, thanks so much for stopping by! I'd love to see pictures when you get finished. I can't understand why school districts think the arts aren't important. It makes me really unhappy...
Post a Comment