Pages

Let me off the grid! A journey toward artful, holistic living in the middle of Sin City...

A journey toward artful, holistic living in the middle of Sin City...
Showing posts with label upcycling. Show all posts

Friday, September 26, 2014

I'm Back!

Yes, after an inordinately long hiatus, I have returned to Blog-land. So many things have happened since my last post (over a year ago!) that I'm not sure where to begin.  I guess the biggest and most wonderful news is that my husband and I retired from teaching in June. He taught for 20 years and I survived taught for 24. No, we do not miss it. Yes, we are enjoying our freedom. No, we're not bored. In fact, I'm busier now than I was when I was teaching. I understand this is a common condition among the retired. Yes, we are very blessed to have been able to retire early and I thank the gods daily for it, especially each morning when we have our leisurely coffee in the front yard (also known as "the morning room") and the rest of the world is racing around getting to work.

One of my longstanding whiny refrains has been "Working cramps my style. I don't have time to work on my art..." Now that I HAVE time, I figured I'd better stop whining and start creating.  So I am pleased to announce the opening of my Zibbet shop! Some of you may not be familiar with Zibbet. It's much like Etsy, but I find them a bit friendlier to use. At present, I'm focusing on upcycled/repurposed stationery and mail art and have already made a sale! Stop by for a visit, when you have the chance: Enveloped In Art. Here are a few examples of what you'll find:
https://www.zibbet.com/enveloped-in-art/halloween-envelopes-with-writing-paper
Halloween envelopes

https://www.zibbet.com/enveloped-in-art/kokopelli-postcard
Kokopelli postcard

Winter Trees postcard

Autumn Stationery Packet

Halloween Stationery packet


There's been a definite learning curve involved in the computer part of this.  I must say that I find the art part much more engaging! But, I'm determined to become part of the 21st century and find my way around technology. At least enough to get my work out there. I suspect it takes me three times longer than it would someone who knows what she's doing.  So much of my life is trial and error...

There are other adventures going on around here (like reworking our city plot of land into a permaculture homestead - click on this link to see some folks who are my heroes and role models), but they will have to wait for another post!

Tuesday, January 22, 2013

Upcycled Envelopes, or Art Materials in Your Mailbox!

I love to write letters.  And I love to make art.  This project combines the two, plus adds a little bit of sustainability, which is the whipped cream and cherry on top.  You know all that junk mail you still get, even though you've put yourself on every "Do Not Mail" list in existence?  Well, this is where the free art supplies come in.  Don't just throw that junk mail away - open it up and pull out any return envelopes they may have sent (and any plastic "pretend" credit cards).  Keep those and put the rest of that mess through your shredder.  On your next trip to the compost pile, dump in all that shredded junk mail because it adds "brown" or dry material to your pile.  This is helpful to us because there aren't a lot of leaves in the Mojave Desert.

Now, here's what you need for this mini-project:

Unused return envelopes; acrylic paint - any kind, cheap stuff from Michael's or JoAnn's is fine; an old credit card or gift card; rubber stamps, a stamp pad (I use black because it shows up better through the layers of paint).  Oops! not shown: some bubble wrap, a brayer and/or a piece of sponge. These are optional.  You DON'T need a bowl of walnuts or a nutcracker.  Unless you get hungry.

Step 1:
 Begin by putting two small drops of paint on the front of your envelope.  Make sure they're small, or you'll get paint all over.  You can always add more. And if you have too much, you can put it on another envelope that's close, so really, no worries.


Next, use that old credit card/gift card to scrape the paint over the front of the envelope.
They are THE BEST paint applicators I know of.  Plus, when you reuse them you're keeping stuff out of the landfill.  You don't have to use two colors at the same time; you could apply one,
 let it dry, then apply a second color:

Be sure to do the fronts and backs.


Now eat a couple of those walnuts while you're waiting for your envelopes to dry...

After they're dry, stamp random patterns all over the front and back of your envelopes.

Your envelopes are beautiful and could be used right now.  All you need to do is add a label for the address and it's good to go.  BUT if you want to add a little extra pizazz, here's the optional step:

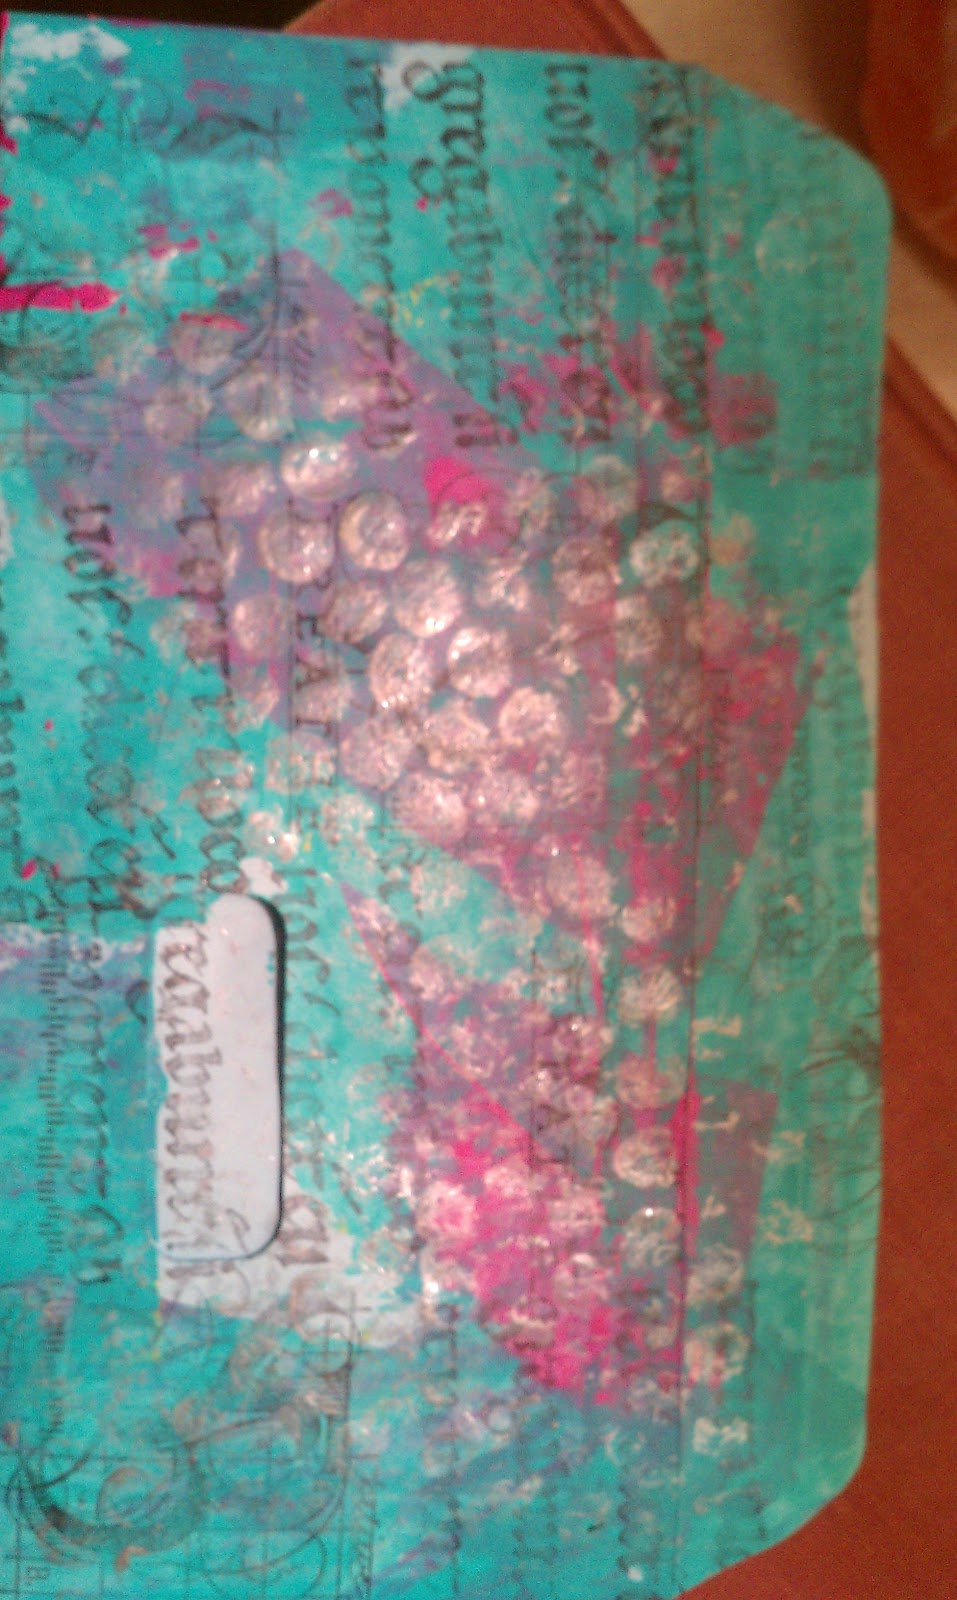
Using a contrasting color (I like metallics, but I'm just that kind of bear), brayer a little paint onto the bumpy side of the bubble wrap.


And press it randomly over your envelope.


Or, if you'd rather use a sponge, tap it into the paint and gently tap over your envelope however you please.

And there you are.  Welcome to mail art!.  Now, clean up your workspace and go write some letters...


This post has been linked to Homemade MondaysFrugal Days, Sustainable Ways

Monday, January 14, 2013

Preparing for spring

Looky, looky - something to do with all the empty toilet paper rolls I can't seem to bring myself to throw away!  I found the idea on Pinterest here.  This is my stupid-simple tutorial (like you couldn't figure this out by yourself...)

You need these:
Cut the tubes in half.  No, don't measure them (unless you're that kind of bear), just eyeball it.  Then, squish in half one way...


Squish in half the other way...


Use the fold lines as a cutting guide to make 3/4" (or so) cuts:


Bend the flaps in toward the center,


Then overlap them like you are closing the top of a cardboard box:


Pretty cool, yes?  Now to plant some seeds.  I think tomatoes, since they need a real head start here.


Meanwhile, here's how things are looking in my herb garden...

I've had to bundle everyone up the past few nights due to overnight temperatures in the 20's.  Brrrr....
Snoozing under the blankets are my dwarf lemon tree, lavender bush and rosemary bush. What's going on in your garden?


This post has been linked to Homemade Mondays, Week 11.  Many cool ideas - check it out!

Sunday, February 26, 2012

Upcycled Journal

Here is my first spread in my upcycled journal:
The "Top Secret" book is made from shipping tags glued to an accordion pleat.  This journal is made from an old National Geographic magazine, covered with a Trader Joe's paper bag and the endpapers are covered with newspaper.  I got the idea from Paula at Journal Artista who mentioned, in passing, the idea of making art journals from old magazines.  I loved the idea and just gave it a try because I couldn't find anything else about it online.  The fun thing about this spread is that it does indeed contain many secrets that I have written on the pages and under the embellishments, but they've been hidden by layers of paint!

Monday, January 30, 2012

new mixed media background

Here's one of the backgrounds I've been working on.  It's a piece of cardboard that came in a package I got at school.  I used a gesso base, and added watercolor (from tubes because you get a richer color).  Then I used a clear embossing powder with a paisley flourish stamp and went over the whole thing with liquid acrylic mixed with glazing medium.  Happy :)

Sunday, January 22, 2012

Big News

OK, I say this with a mixture of excitement and trepidation:  I have rented a wall at the gallery where I'm teaching classes and am officially putting my stuff out there for public consumption.  The wall that was available is perfectly hideous:
But Morgan and I covered the whole thing in burlap and it looks much better:

We also added pegboard, as you can see.  Today, before my class, I brought in a bunch of things that I've been working on, so now it looks loved, sort of:

Every spare second has been spent in creating stuff for this wall.  I'm telling you what, this is work.  People think artists just sit around and color; I've got news for them.  It's exhausting.  But fun.  First Friday is coming up soon (the monthly event in the Arts District), so that will be an indication of the saleability (is that a word?) of my stuff.  Keeping my fingers crossed...

I'm really into the idea of upcycling -- using things in my art that would otherwise be thrown away.  In fact, here's a picture of a sign I made to hang on my wall:

I used a styrofoam tray, a piece of an old National Geographic map, burlap, and a gel medium transfer to make it.